How to Fix a Pilot Light on a Gas Stove That Repeatedly Goes Out
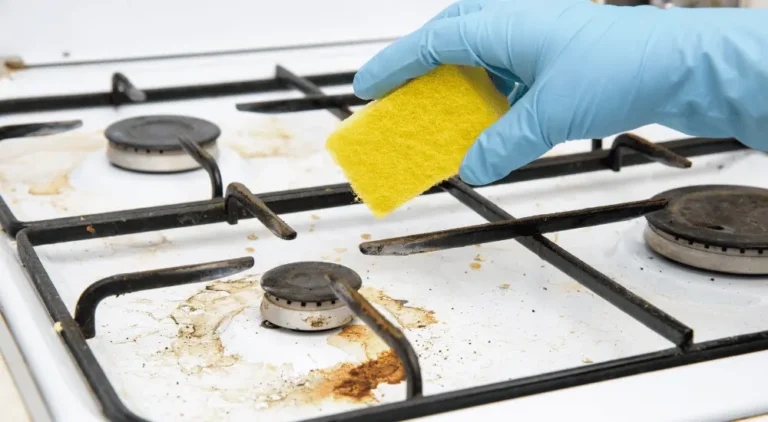
Have you noticed the pilot light on your gas stove keeps going out? Does it take several tries before the small flame finally stays lit? A temperamental pilot light that won’t remain ignited is an annoyance when trying to cook and can also be a safety hazard.
So what causes a gas stove’s pilot light to go out repeatedly, and how can you fix the issue for proper stove operation?
The most common culprits behind a pilot light that won’t stay lit are a weak flame, clogged opening, faulty thermocouple, or broken igniter preventing the pet from getting the gas flow it needs. With some basic maintenance and troubleshooting, you can often get your stove’s pilot light working again without needing a costly repair call.
This comprehensive guide will walk through the key reasons your gas stove pilot light keeps going out and provide step-by-step instructions to clean, adjust, and relight the pilot to resolve your stove’s ignition problems for good.
We’ll also cover maintenance tips to prevent future pilot light issues. By the end, you’ll be confident to tackle pilot light troubles and enjoy a fully functional gas stove.
What Does the Pilot Light Do on a Gas Stove?
Before diving into what causes pilot light problems and how to fix them, it helps to understand what exactly the pilot light does on a gas stove or range:
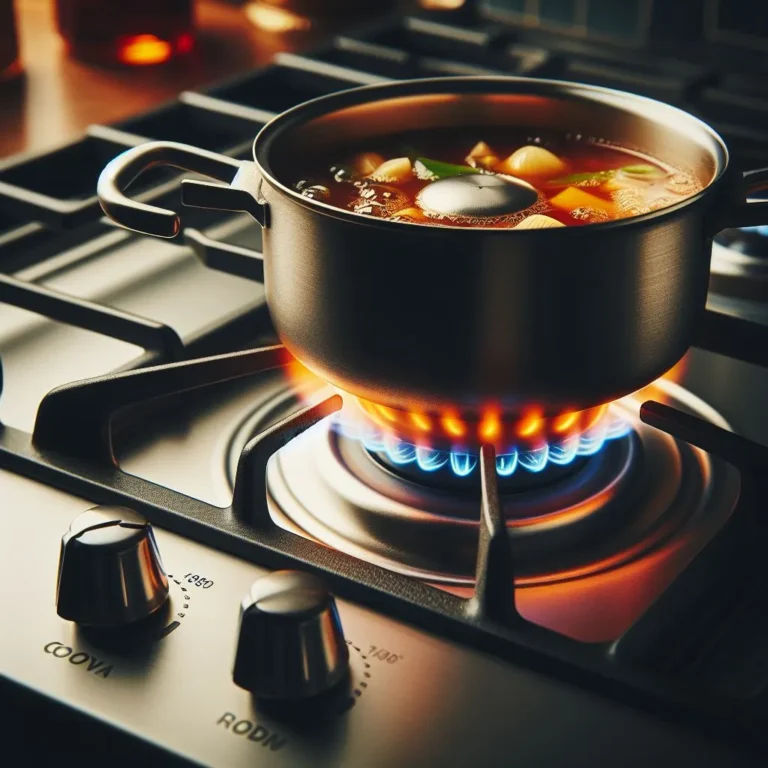
The pilot light is a small standalone flame on the back of the stovetop near the burners. Older gas stove models often have a constantly burning pilot light rather than electronic ignition.
This small flame is designed to stay lit to ignite the gas and trigger the larger burner flames when you turn the control knobs. It provides a ready source of ignition. Without a properly working pilot, the burners won’t turn on.
Modern gas stoves tend to use electronic igniters instead of pilot lights. But many older ranges still rely on a pilot, which needs to be kept in good working order for the stove to function.
Why Does My Gas Stove Pilot Light Keep Going Out?
If your stove’s pilot light won’t stay lit and repeatedly goes out shortly after being relit, there are a few possible culprits:
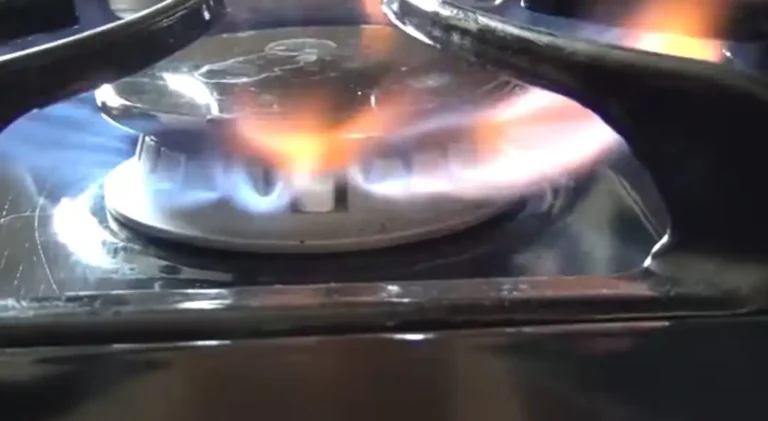
Weak, Small Pilot Flame
The pilot light flame needs to be large and strong to heat the thermocouple and maintain the gas flow. The pet can easily go out if it is small, weak, or flickering. A soft love indicates restricted gas flow, possibly from a clogged opening or malfunctioning valve.
Dirty or Clogged Pilot Light Orifice
The tiny hole where the pilot flame emerges is called the orifice. If this opening or the tube leading to it becomes clogged with dirt, debris, grease, or spider webs, gas flow to the pilot can become restricted. Lack of adequate fuel to the flame causes it to go out.
Faulty Thermocouple
The thermocouple is a sensor that registers the heat from the pilot light flame. It sends a signal to the gas control valve to open, allowing gas to continue flowing to the pilot. If the thermocouple malfunctions or fails, the pilot goes out due to a lack of gas.
Broken or Faulty Igniter
Most pilot lights have an igniter button that initially creates a spark to light the gas. If the igniter stops making sparks, the pilot can’t relight after going out. An issue with the igniter prevents relighting the flame.
Loose Gas Line Connection
Loose fittings or connections anywhere in the gas supply line can cause gas leaks. This results in intermittent gas flow to the pilot light, causing the flame to go out when gas levels drop too low.
Now that you know what makes that small but mighty pilot light go out, let’s look at the steps for troubleshooting and fixing the problem.
How to Fix a Gas Stove Pilot Light That Keeps Going Out
Repairing an uncooperative pilot light is one of the more convenient DIY gas stove fixes you can typically tackle without professional help. Here is a step-by-step guide:
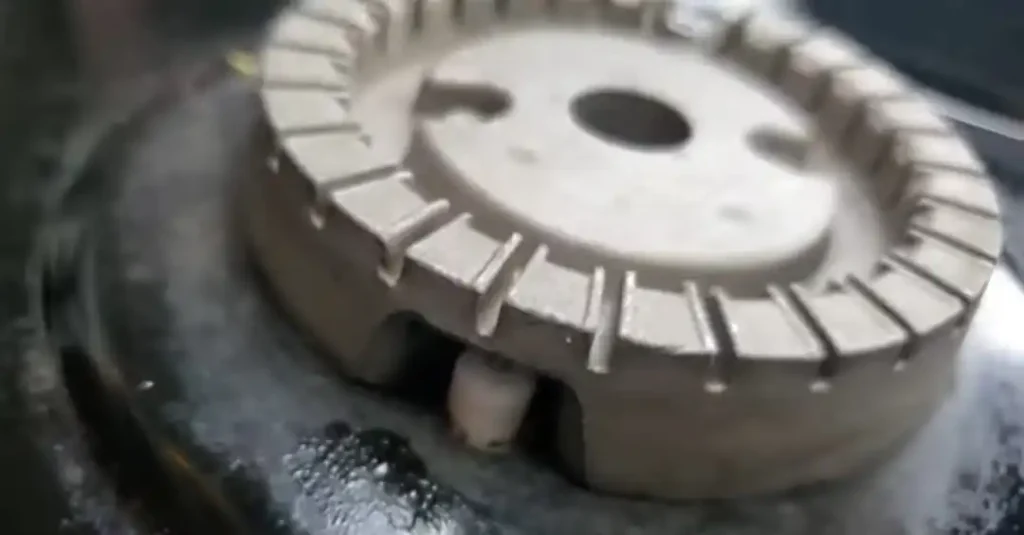
Step 1 – Locate the Pilot Light
Start by locating the pilot light assembly, usually at the rear of the cooktop. Removing the burner grates allows better access.
Look for a small tubular opening with a flame emerging. A cover plate may shield the pilot you need to pop off for access.
Step 2 – Clean the Pilot Orifice and Tube
A restricted gas flow to the pilot flame due to a dirty or clogged orifice opening is often the culprit behind a weak love. Use a wire, needle, or compressed air to clear debris, dirt, or spider webs from the pilot light opening.
Try gently blowing through the pilot tube that leads to the orifice to remove any obstructions. Clearing blockages will allow proper gas flow to relight a strong flame.
Step 3 – Check and Reset Pilot Valve Knob
Ensure your gas line is turned on and supplying gas to the stove. The pilot valve knob is typically located near the burners. Turn or slide it counterclockwise to the far “pilot” position.
Some pilot valves also have a button that needs to be pushed in or held down to start pilot gas flow. Press and hold this for 30-60 seconds when lighting the pilot.
Step 4 – Ignite the Pilot Flame
While depressing the valve reset button or holding the knob in the pilot position, proceed to light the flame:
- Igniter button – Most pilot assemblies have a red or black control to create a spark. Press and hold this button while lighting to ignite the gas.
- Lighter or match – Hold the flame from a more lightweight or lit match near the pilot opening for 30-60 seconds or until the pet remains lit when released.
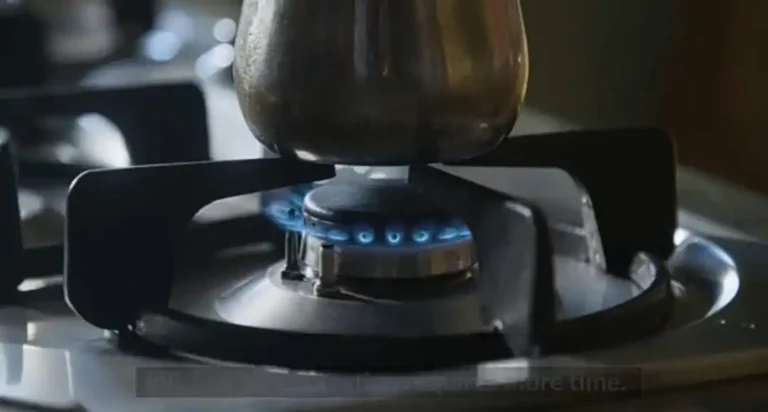
The pilot should ignite with a stable, blue flame at its full size.
Step 5 – Adjust Pilot Flame Size
Watch the pilot flame for a minute or two. Turn the pilot gas adjustment screw on the valve to increase the flame size if needed. This gives the pilot more heating power to keep the thermocouple hot.
Be careful not to turn it up so high that the flame is dangerously large, flickering, or seeking air. The pilot only needs a love about 1⁄2-inch high.
Step 6 – Check Thermocouple Function
If you’ve cleaned the orifice, adjusted the flame, and checked connections and the pilot still won’t stay lit, the thermocouple is likely faulty.
Swap in a replacement thermocouple designed for your stove model and ensure it’s secured tightly to the pilot assembly. This will provide the proper electrical signal to the gas valve to keep the pilot gas flowing.
Step 7 – Replace Igniter if Needed
Try relighting the pilot. If the igniter button fails to create a spark, replace the piezo igniter. They are inexpensive and screw into the valve assembly. This allows the pilot to be relit if it goes out.
Follow the pilot lighting steps again, and it should now remain burning. Give the stove burners a test. The pilot flame should ignite the gas and hold steady.
With a clean, properly adjusted pilot light secured by a working thermocouple and igniter, your stove’s ignition system will stop giving you grief and work reliably for cooking meals.
What if My Gas Stove Doesn’t Have a Pilot Light?
Many newer gas stoves and ranges utilize electronic ignition instead of a standing pilot light to light the burners. There is no constantly burning flame.
Rather, turning the knob activates the igniter to create a spark and light the gas. If you don’t have a pilot, possible reasons the burners won’t ignite include:
- Dead batteries in the ignition module
- Faulty igniter unable to spark
- Clogged burner ports or faulty regulators reduce gas flow
Start troubleshooting an electronic ignition system by replacing the AA or AAA batteries in the igniter module below the cooktop or behind the control panel. The burners should spark when activated.
The electronic igniter will likely fail if replacing batteries doesn’t restore sparking. This is a more complicated repair best left to a professional service technician.
What Causes Yellow Burner Flames on a Gas Stove?
While inspecting the pilot light on your gas range or cooktop, look at the burner flames. Are they blue, or do they appear more yellow or orange?
A yellow gas stove burner flame indicates incomplete combustion and reduced efficiency. Here are some potential causes:
- Burner ports clogged with food debris or grease
- Incorrect burner cap size
- Problem with gas pressure and regulator
Over time, the small burner ports where gas flames emerge can become increasingly clogged with burned food bits or accumulated grease. This restricts airflow and causes improper gas combustion, resulting in yellow flames.
Using the incorrect replacement burner caps can also lead to yellow flames. Finally, an issue with the gas regulator can result in less gas pressure and volume, producing incomplete burning.
How to Fix Yellow Burner Flames on a Gas Stove
To banish yellow flames back to blue, try these troubleshooting tips:
- Remove burners and clean all clogged ports with a wire, needle, or compressed air.
- Ensure the proper-sized burner caps are installed. Check stove manufacturer specs.
- Have a technician inspect the gas regulator and replace it if it is faulty.
- Adjust the flame size higher or lower as needed.
Scrubbing burner ports and clearing obstructions is often enough to fix yellow flames. Caution – do NOT enlarge ports. If the problem persists after cleaning thoroughly, contact a professional service agent to inspect the gas regulator and replace the burner caps.
Adjusting flame height can help, but yellow flames indicate improper combustion. You don’t want to ignore the long-term.
Recommended Articles: Dive Deeper into Related Topics
Gas Stove Pilot Light Troubleshooting Tips
To recap, here are some key troubleshooting pointers for a stove pilot light that won’t stay lit or repeatedly goes out:
- Weak flame = clogged orifice, damaged thermocouple/valve
- The pilot won’t ignite = there is a dead igniter battery and a broken igniter
- Goes out after lighting = dirty orifice, faulty thermocouple
- Keeps going out after extended time = gas leak
- Yellow burner flames = clogged ports, gas pressure issue
Always turn off the gas supply at the shut-off valve before any pilot light repair work.
A persistent gas smell after repeated pilot outages can signify a dangerous leak. Use leak detector spray on connections. Call the gas company immediately if leaks are detected.
Pilot troubles typically have simple solutions like cleaning or inexpensive part replacements. But for any concerns or if problems persist, don’t hesitate to call a professional technician. Gas appliances should never be unsafe to operate.
Conclusion: Fix a Pilot Light on a Gas Stove
Dealing with a temperamental gas stove pilot light that keeps going out or won’t stay lit can be frustrating when cooking meals.
But in most cases, the cause boils down (pun intended) to an underlying issue like a weak flame, clogged opening, or broken sensor that can be fixed with minimal time and cost.
Following the step-by-step troubleshooting, cleaning, and repair tips outlined above will get your stove’s pilot light working reliably again so you can enjoy the convenience of cooking with gas.